Got a problem and need live support?
We are here to help.
If you have NOT yet begun the install, and you need to ask us questions, please fill out a support ticket by clicking picture that says Support Ticket with your cell number. We will provide the technical support that you need.
If you HAVE already begun the install and you are having challenges, do the following:
Take pictures of the wiring diagram of your A/C usually found near the unit, once the cover is removed.
Take pictures of top of the compressor and the top of the run cap, both showing the wiring you did.
Send them to us by attaching them to the support ticket. Tell us the type of A/C you have – IMPORTANT e.g. Dometic Penguin II, and the issue you are having. Include your cell number too.
BOOK A TIME IN ADVANCE If you’d like us to walk you through the install while you are on the rooftop, it’s best to book a time in advance so we can be there for you. Send us a support ticket and let’s book a time!
Typically it is easier to reach us by using the support ticket system as it is more efficient and easier for us to get answers to you quickly, if you send your wiring diagram and wiring pictures to us first using the Support Ticket System, and then allow us to respond.
For Specific Install Instructions and Wiring Diagrams, Click the A/C Unit Type Below, If you don’t see your specific diagram, send us a support ticket, we may have it in our database. If we do not have it, we will customize a wiring diagram for you.
Coleman
First Step: Identify which Coleman AC model you have
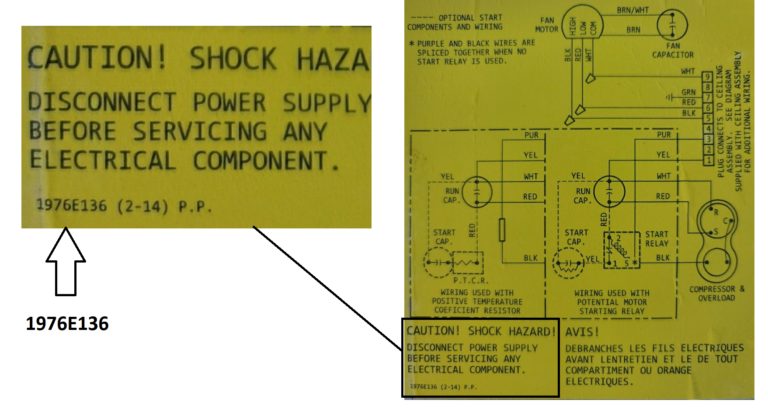
After opening your AC Unit look for the metal electric box housing the capacitors (look for a shock hazard warning label). Remove the cover of that box and on the back of the cover, locate the wiring schematic shown on the adjacent image and the number beginning with 1976. This will provide the cross reference number needed to identify the wiring and 6 step installation for your air conditioner. Look for the schematic diagram as shown on adjacent image and then look for the small model # on the left corner as shown in image. This will be the number you need to identify the proper wiring diagram below.
If you don’t see your specific diagram on these pages, no worries, send us a support ticket, we may have it in our database. If we do not have it, we will customize a wiring diagram for you at no charge.
Dometic
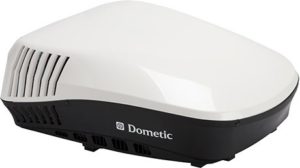
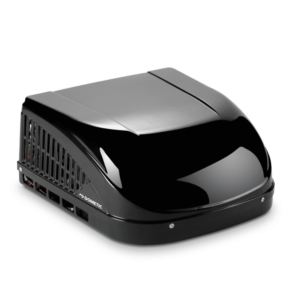
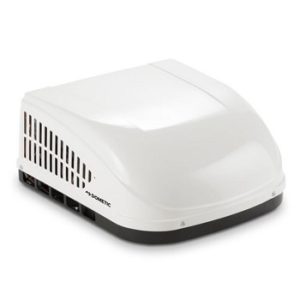
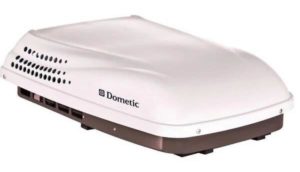
If you're not sure which Dometic model you have, please note the pictures next to the model name below. Also note that the colors may not be the same.
First Step: Identify which Dometic model you have
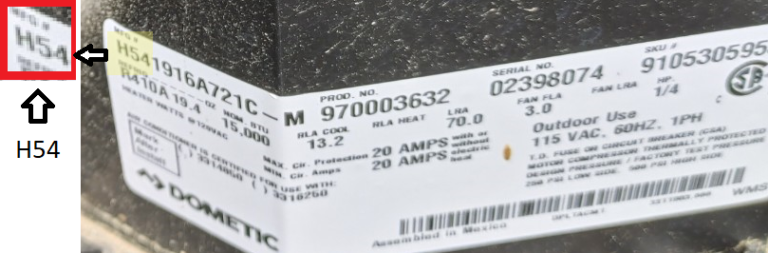
After opening your AC Unit look for the schematic diagram as shown on adjacent image and then look for the model # on the left corner as shown in image. The letter (if there is one) and first 2 numbers is what is needed. This will be the number you need to identify the proper wiring diagram below.
If you don’t see your specific diagram on these pages, no worries, send us a support ticket, we may have it in our database. If we do not have it, we will customize a wiring diagram for you at no charge.
If you have a question call 954-606-6886. If we are speaking with other customers and unavailable, we will call you back.
If You're Not A SoftStartRV Owner Yet, Click Buy Now Button Below For A Special Offer